Sunday 25 November 2012

Old meets new...........

Hi there,

Inbetween doing the weekly wash, I have been sneaking up to my craft room to make a card.

As the title says I decided to mix some old products with a couple of new products. Yesterday when I met up with my crafting group, I was given my Birthday present.

Now anybody who knows me well, will know that I love Martha Stewart PATP sets, she has recently brought out a few new designs and I am now the owner of a set called "Flourish Lace". Oh my I love this set I can see me using it a lot!


Here is the card I made this morning and I am hoping to get another one in today as well LOL


Old meets new.


Yes Martine that is a bit of Mirri card, I am getting there LOL.


When I say old product, I mean that I have had them in my Creative Chaos that I call my Craftroom for a long time.


So the "old" products are as follows:


Memory Box Snow Globe Die 
Memory Box Snow Globe Stamp
Basic Grey Eskimo Kisses 6 x 6

The "New" products are as follows

Martha Stewart "Flourish Lace" PATP
MFT Dainty Bows Die set
Rhinestone Clusters by Chloe
Geometric Ring Embossing Folder by ProvoCraft

All the items that are Highlighted in pink are available from Oysterstamps 
I know that they do sell some MFT Dies, I am unsure if they have this one in at the moment. You can always contact them and ask if they will get it in for you.

Happy Crafting


Barbara


Saturday 24 November 2012

A play day for me.............

Hi there,

Today was a play day for me. Once a month a small group of us get together and have a good old crafting session and natter.

I managed to make two cards today.................. here they are.


This card I have made with a Memory Box Die called " Grand Madison Door", " Breezy Wreath" and a Tim Holtz folder. The door actually opens, so you can stamp a message inside :)

The Breezy Wreath die is a bit bigger than what you see on the door, I just cut a chunk out of it and rejoined the ends. As you can see I embossed the folder on another sheet of card and cut around the embossing and adhered it onto the front of a card blank.

With the exception of the Embossing Folder all products can be purchased at Oysterstamps  


CAS Door Card.

This Second card, has been made with a Marianne die, Memory Box die "Whimsical Flourish" and "Scalloped Posy" also by Memory Box. The sentiment is by Clarity Stamps.


Sublime in Ivory.


With the Exception of the Marianne Die, everything is available at Oysterstamps

Happy Crafting


Barbara

Sunday 18 November 2012

A Tutorial for you................

Hey there,

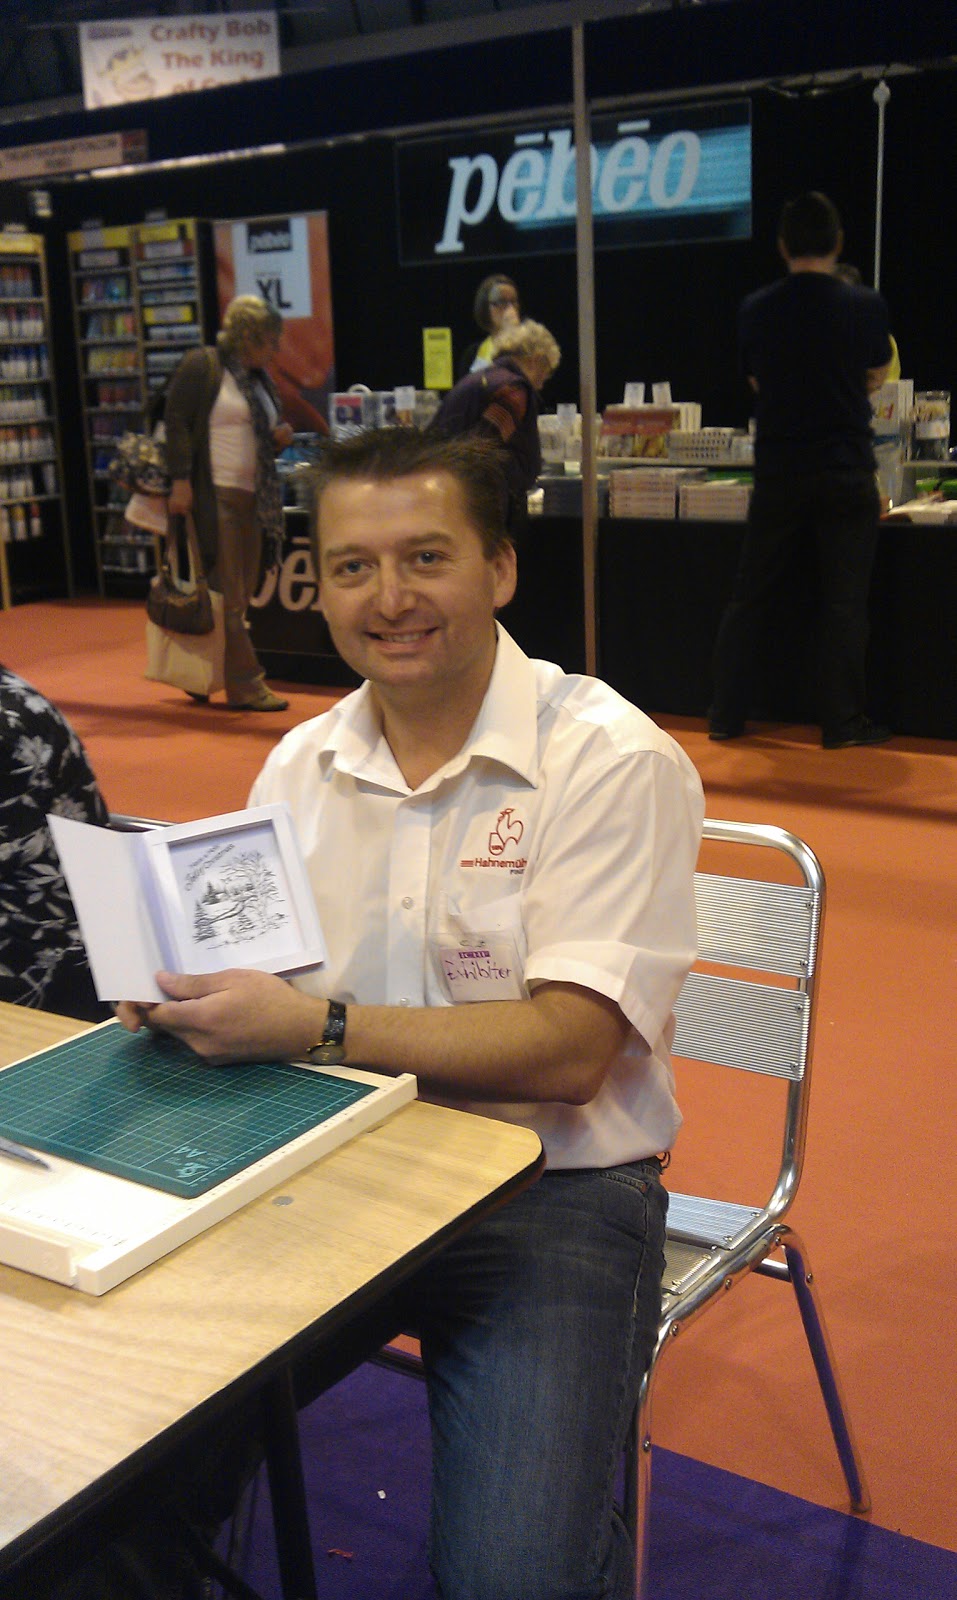
Recently I ran a workshop at some paper craft shows across the country for Oysterstamps. In these workshops the attendees would learn how to make this card using the Martha Stewart Score Board and Memory Box Dies.

   
Box Frame card.


Please be gentle with me, as this is the first time I have written a Tutorial for my Blog; I do hope you enjoy it.

 So if you did not get to attend this particular workshop, or indeed would like to  know how to create this card , scroll on down................


OK here goes, take an 8x 8 square of card stock, I used white for my example here, but you can use patterned card if you wish.


Now you need to score on all four sides of your square on the following measurements, I used a Martha Stewart Score Board.

3/8" inch, 3/4" inch 1 5/8" and 2" inches

Score Lines


Once you have scored on all four sides, remove the four outer corners ( marked with pink dashes) then cut along the centre cross ( Marked with pink dashes)


This is what you should have now.


If you wish to add colour or stamped images to the frame, now is the time to do this.


Time to Assemble!


Fold along the scored lines. As per the picture below.


Now staple the four corners together, this forms a lip in which you will be able to adhere the frame to a card blank later on. I used the Tim Holtz tiny attacher to staple mine together as it fits into the folds really nicely.


Stapled corner


This is what you should have now.


Staple or DST the triangles to the lip.


Now turn the frame over so the remaining corners are flat on a cutting surface, and trim these off.


In order to finish this card off, you can cut a piece of card just slightly smaller than the frame and adhere this to the back and make a stand for it. Alternatively you can adhere the frame to a card blank. 


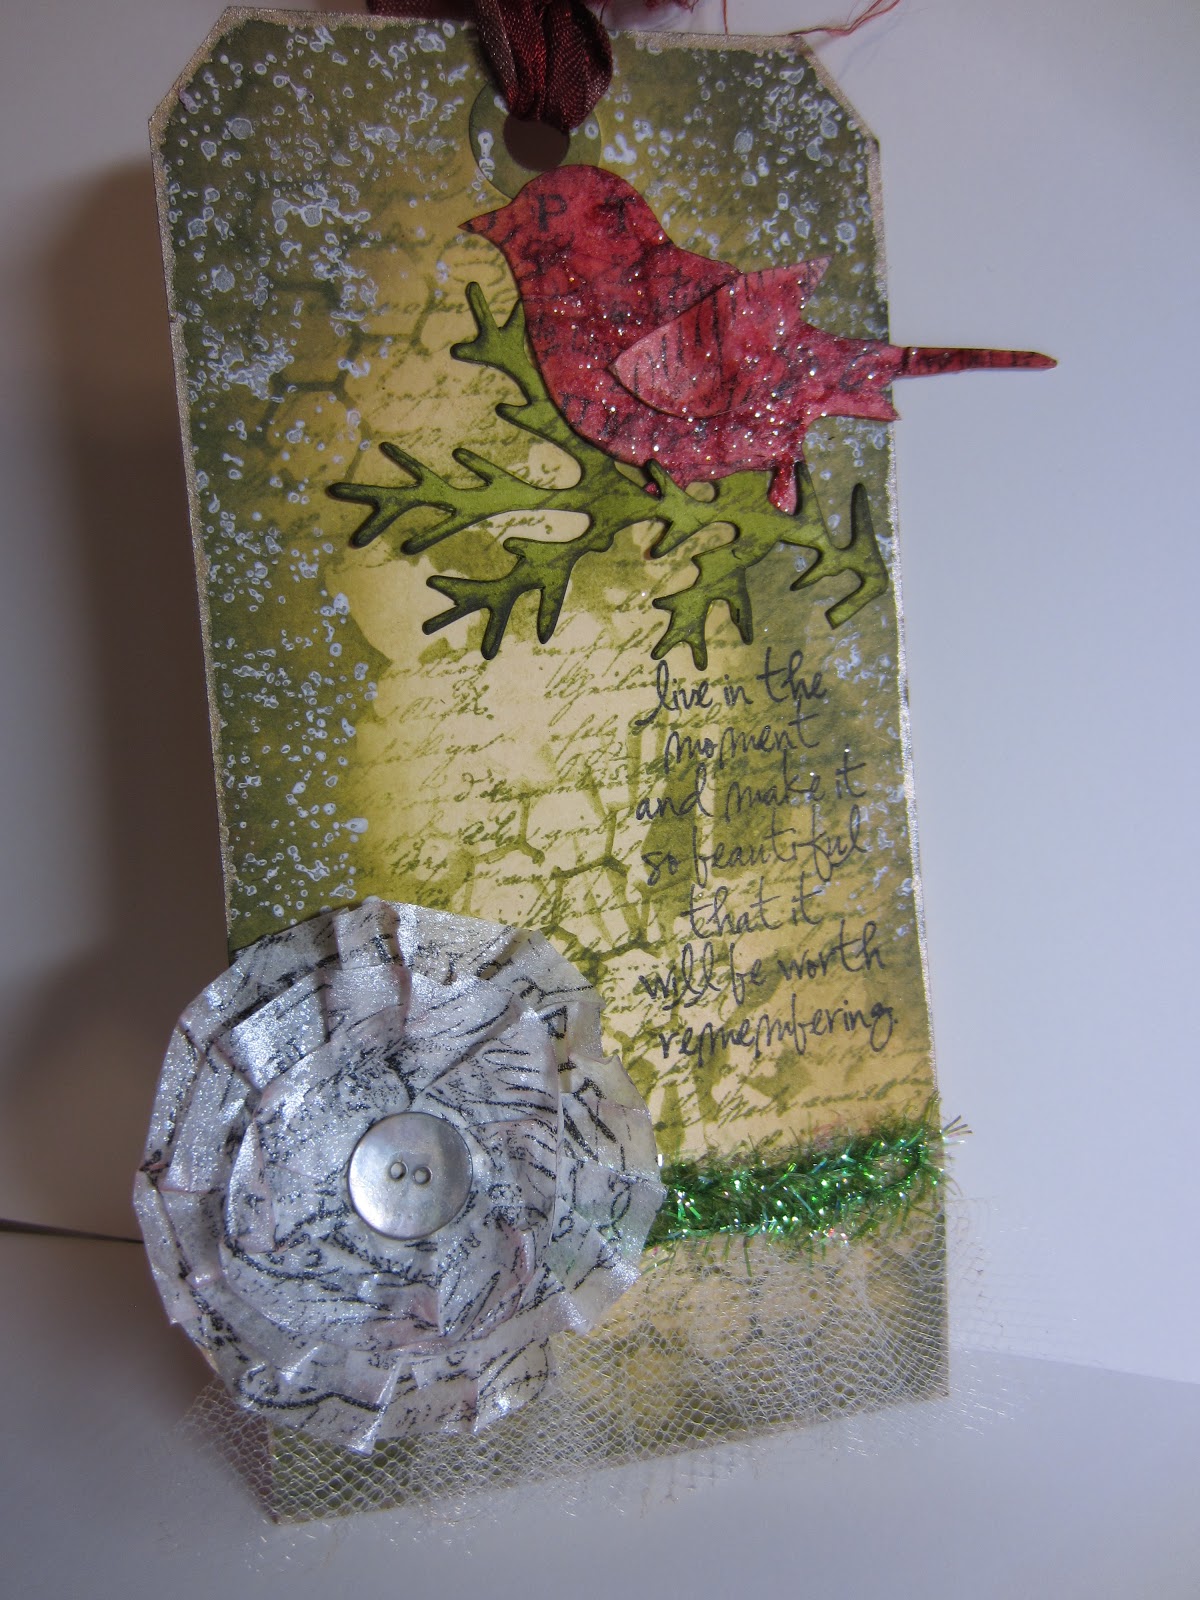
Here are a couple more examples for you.


This frame has had some die cuts glued onto of the frame after scoring, then Metal tape was applied over the top. I then burnished around the Die Cuts to make them look embossed. 

Once I had completed the burnishing, I applied some Acrylic Paint, and wiped some of it off before it dried completely and sprayed it with some Ranger Perfect pearls spray and left to dry.

I then assembled the frame, stamped and inked the back panel and adhered this to a card blank. I added some die cut rolled roses, these were cut with Ten Second Studio metal sheets and some Branches (Martha Stewart Branch punch was used here)


Rolled Roses and Scroll


This card I used a sturdy patterned Cardstock, I made my frame and adhered a stamped, coloured image on to the back panel (whimsy). I then made a  Poinsettia with the Spellbinders Die and cut a couple of Holly Flourishes ( Cheery Lynn) in Gold Mirri Card.


Poinsettia and Holly Flourish.
 
I do hope you can follow this tutorial, If you have any questions, you can e-mail me using the button at the top of my blog.

Happy crafting


Barbara xx                                           


Tuesday 13 November 2012

Marathon Workshop session.

Hey there,


This past weekend I have been at the NEC taking workshops for oysterstamps and I have loved every minute of it.

I have taught a workshop  to approx 230 eager crafters. 99% of these are women, but I have had a couple of male crafters on my workshops and they both enjoyed making the Box Card very much.


Here is Simon, proudly showing off his creation.

Simon and completed card.
 I would like to thank Oysterstamps for letting me run these workshops for them, also the crafters that attended them!

Happy Crafting

Barbara xx


Thursday 1 November 2012

Shimmer Sheetz a review.........

Hi there,

I hope you all enjoyed yesterdays tags.

Today I have a card to show you that I made using a product called Shimmer Sheetz, these are sheets of Mylar which is coated with a layer of colour. These sheets are embossable, Sandable, heat mouldable and you can colour them with Stazon ink, Alcohol inks and Vintage patina.

On the card below, I embossed the sheet using the Allora embossing folder by Couture Creations. I then took a sanding block and in one direction only I gently sanded the surface, this revealed the base colour unnderneath which is white.

I cut a couple of Chloes stem (memory box) and a scalloped posie (memory Box) I also cut out a border from spellbinders Venetian Accents and I also used my Martha Stewart score board to create a pleated strip.


Shimmer Sheetzs


Wednesday 31 October 2012

Tag you're it...........

Hey there,

long time no post...........


I do hope you are all well and you're all busy crafting.


As the title of the post says, Tag you're it, I thought it would be fun to have a tag hop.

If you would like to join in. Leave a comment with a link to your blog where you have posted some tags. ( I have not worked out how  you can leave a link on my post. If you know how, feel free to tell me, as I have not got a clue!)

So here are my latest tags, actually I'll be honest with you, I made them a few weeks ago.


This tag was created using Distress stain in Antique linen, Distress Ink in Shabby Shutters and Crushed Olive, I have used a Stencil by Crafters Workshop on the background and Various Tim Holtz Stamps.
 The bird had been cut from card, that was covered with Tissue Tape first, coloured in Fired Brick and then Stickles Glitter. I then made a Tissue Tape flower and adhered a vintage MOP button in the centre, using good old Glossy Accents then gave it a quick spray with Perfect Pearl Spray.
In my rather large stash I found some Tulle and some Tinsel string. The white splotches were stamped using Picket Fence distress Stains.

Tissue Tape, Tulle and Tinsel


 This Tag was created by using a resist technique for the background, I heat embossed the large TH background stamp from Papilion, then used Fired Brick and aged mahogany over the background.
 I cut two hearts from the Sizzix die Primitive Hearts, Coloured again using Fired Brick and Aged Mahogany, embossed with a Sizziz folder on the largest one and stamped on the smallest one using the delightful Metallic Stains in Pewter.
I coloured some Cotton Lace using the Distress Stain in Antique Line and adhered that down one side, Pleated some Tissue Tape along the bottom adhered my hearts and added some Dyed Seam Binding and a Metal Token through the hole at the top. As a final flourish I edged the tag with some Crafty Notions gilding wax.


Hearts, Lace and Heavy Metal


 On this Tag, I stained the tag in Tumbled Glass then stamped a TH Christmas Carol stamp on one side.

I then took a Snowflake stencil and applied some Glue n Seal and sprinkled Rock Candy dry Glitter and left to dry.

Using self adhesive Canvas, I die cut a Deer and stained it using Antique Linen and gently edged using Walnut stain.

I Stamped Happy Holidays and heat embossed in clear powder, then applied Crafty Notions gilding wax over the top.

Along the bottom of the tag I added a small strip of Vintage music paper and a row of Pearl String.
Sparkle, Pearls and Music

I do hope you have enjoyed my tags and i really hope you willl join in and tag your own creations.


Barbara x x

Tuesday 25 September 2012

The winner is.............................

We are pleased to announce the winner of our mini blog hop..............


Are you ready..................

insert drum roll please!


Bhavna

Congratulations!!!!!!!!!!

please contact me by e-mail.


Thank you all for joining in, we will be having another blog hop soon, watch this space. 


Happy crafting 

Barbara


Tuesday 18 September 2012

Birthday Celebrations..................

Hi there,

Today I went to my monthly meet up and craft session, a group of us all meet in each others houses to craft and have a good natter, well this month we had two Birthdays to celebrate, Hazel's and Jane's.

I made both of them a card and I would like to share them with you.

Here is Hazels one, it is an easel card with some ribbon weaving, a new technique for me!

Hazel's Birthday Card.

I used Labels 23 grand, Fancy framed tags one, Ranger embossing powder in weathered white and Elegant frond rubber stamp by Just Rite, Pearls and ribbon are from my stash.

Close up of the ribbon weaving.

Close up of the Embossing.


Next is Jane's card, I just love the way this one came out!

Jane's card closed.

Jane's card opened.

Close up of the flower and layers.
I used Spellbinders Decorative Circles one, Blossom Five, Majestic Circles, G45 Ladies Diary papers, Just rite Botanical medallions set (verse) and Antique linen Distress ink.

Don't forget there is still time to win a set of spellbinders die, go here to find out more.


Happy Crafting


Barbara

Monday 17 September 2012

Mini Spellbinder challenge......and how to win a set.....

Hi there,

A challenge was set two weeks ago for Martine and I, to create some cards using the new set of dies called.................................. A2 Fancy Weave, these are brand new from Spellbinders and are designed by Cindy Echtinaw Designs for Spellbinders.

So Martine and I decided to have a mini Blog hop between us.

Here is what I made using the A2 Fancy Weave Dies.........................................


A2 Fancy Weave frame


Close up of the Flower made with Blossom 5


 I have used the following products on this card.
  • Spellbinders A2 Fancy Weave 
  • Spellbinders Foliage II
  • Spellbinders Blossoms 5
  • Spellbinders Garden Lattice A4 embossing folder
  • Bundled Sage Distress Ink
  • Just Rite Botanical Medallions
  • Vintage Glass Glitter
With the exception of the Glass glitter, all products used are available from Oysterstamps


For my next creation I made a box, but you know me not just an ordinary box! It is a nice size to add a lipstick or a tube of sweets and give as a token present

 You could attach a hanging loop to the back and hang on the Christmas tree hhhmmmmm I may just have to give that one a go!


Gift Box


Close up of the coloured image


 I have used the following products.

  • Spellbinders A2 Fancy Lattice
  • Spellbinders Labels 28
  • Spellbinders A4 Embossing folder Dainty Dots
  • Whimsy stamps Fluffy on the Lilly
  • Promarkers
  • Organza Ribbon
  • Pearls

With the exception of the Promarkers everything else is available from Oysterstamps


Now here is what you need to do; if you would like to win a set of these dies. You will need to make a comment and follow me, then hop over to Martine tomorrow  and make a comment and follow her.

All the names will go into a hat and a winner will be picked. The winner will be announced on Tuesday 25th September at @ 8.00AM.

I do hope you enjoyed what I created with these loverly dies, don't forget to comment and follow if you would like to win a set of these dies.

Now don't forget to hop on over to Martine tomorrow to see what she has created.

Happy Crafting


Barbara

Thursday 13 September 2012

In it to win it.................

As the title says you have to be in it to win it. I can hear you all asking what can I win, well ladies and gentlemen.

If you would like to win one of the latest Spellbinder dies. Please join me here on Monday the 17th and all will be revealed!

Happy Crafting

Barbara

Wednesday 5 September 2012

An elegant Christmas................

Hi fellow crafters.

I hope you are all well and busily crafting.

I would like to share with you a card I made the other night.


Here it is.................................


I love making paper pleats. 


I used the following Products.

  • MS PATP Cherish
  • Just Rite Christmas Miracle Ornaments
  • Spellbinders Persian Accents
  • Wow Rich Gold embossing powder
  • Spellbinders Christmas Ornaments
  • MS Mini Score Board for the paper pleating
  • Couture Creations Embossing folder Constellation
The products that are in Purple are Available from Oysterstamps

Shall I sneak in another one..................... Yea I think I will


Better view of the Poinsettia and the Decorative pattern on the Die.


I used the following products

  • Spellbinders Decorative labels 8
  • Spellbinders labels 8
  • Spellbinders Poinsettia
  • MS Branch Punch
  • Prima say it in Crystals
  • Glamour Dust Glitter
  • Memory Box Stamp Merriest season

Except for the MS Branch Punch, you can get these products from Oysterstamps.

I hope you enjoyed looking at my creations, I read all of your comments and enjoy reading what you think of my work.

Happy Crafting

Barbara

Happy Crafting Barbara

Monday 20 August 2012

A smattering of sparkle.............

Hi fellow crafters.

I do hope you are all enjoying this lovely weather we have been having, for me it has been a tad hot, but it looks as though it will start to cool down now.

Anyway, back to the title of this post, A smattering of sparkle I hear you say. Yes I made another Christmas card and here it is.............

See the smattering of sparkle

Detailed view
I used the following products on this card

  • Just Rite Background stamp Snowfall
  • Just Rite Large Fancy Holiday Sentiments
  • Just Rite Background Stamp Elegant Fronds
  • WOW embossing powder White (from my own stash)
  • Ranger Perfect Pearls in Perfect Pearl (From my own stash)
  • Clear 3mm Rhinestones (from my own stash)
  • Vellum (from my own stash)
  • Tulle, Oyster do have in stock some lovely organza that you can cut with your dies.
  • Pearl Trim (From my own stash)
  • Scor Tape
  • Martha Stewart Score Board
  • Versa Mark ink pad
I used the Snowfall stamp on the main background and the Elegant Frond on the vellum and embossed both with the WOW powder. The vellum I pleated using my Martha Stewart Score Board.

Top Tip here for you, if you are heat embossing on vellum which you want to score afterwards, score on the reverse side. This way your melted embossing powder won't flake when you score it, guess how I found that one out LOL!

In the gap of the snowfall stamp, I heat embossed a sentiment from the Just Rite large sentiment set. I then took a couple of the tiny snowflakes and stamped randomly in the space using Versamark ink, then brushed over the top with some perfect pearls powder.

On the Tulle I glued some Rhinestones, once they were dry I added my Tulle,vellum and Pearl Trim to the base and Ta Dah! My smattering of sparkle was completed.

Happy Crafting

Barbara

Sunday 19 August 2012

Hhhmmmmm glitter..............

You either love it or hate it, Personally I am growing to love it.

So I made a card today using German Vintage Glass Glitter, wow I love this stuff, so sparkly.

Yes it is a Christmas card,  make Christmassy stuff all year round, given the chance LOL.


Here it is........


Love the colours

Nice view of the bow

View of the Glass Glitter


I loved making this card, I hope to make a few different versions of it as well.

Here is what I used

  • Spellbinders Labels 25
  • German Glass Glitter Silver (from my own Stash)
  • Vellum
  • Wow embossing powder in White and Silver (from my own stash)
  • Ribbon (from my own stash)
  •  Stampendous Stamp Merriest Wish
  • Martha Stewart Branch punch
  • Glamour Dust Glitter
  • Tied Together Embossing Folder
  • Prima Say it in Crystals
  • Becca's Bow Maker
I have linked to the products where I can, I know you can get the Stamp and Labels 25  from Oyster Stamps as well.

Happy Crafting

Barbara.


Friday 17 August 2012

Wednesday Club..............

Hi there fellow crafters,

On Wednesday mornings at Oyster Stamps, I have a mini workshop, where I will either showcase new products or teach a technique or two. Sometimes I have a break and the group will bring in their own crafty goodies to play with, which I love to see what other crafts they do.

I have to say I throughly enjoy these mornings and I love finding different things to show and teach to the ladies and gentlemen that attend.

This last Wednesday, I showed the group how to make a small but effective gift bag................


Here it is.


Mini Gift Bag


I used the following products.
  • Just Rite Clear Noel stamps
  • MME paper (from my stash)
  • Promarkers
  • Mandarin Card
  • Border Punch (from my stash)
  • Spellbinders Tabs
  • Scor Tape
  • Martha Stewart Score Board
  • Silver and white cord
  • Momento Ink Tuxedo Black
The group always seem to enjoy what we do.

Happy Crafting

Barbara

Thursday 16 August 2012

Back from my Holiday......................

Hi fellow crafters,

If you have been away like I have, I hope you had a great time. We went to the New Forest for a couple of weeks , though it was a bit damp on occasions we have a nice and relaxing time.

So as soon as I got home and all the washing was done, I hid in my craft room for three days and made this.....................................


American style mail box

close up of the bottom edge

Mountain lily Fairy by Whimsy, coloured with Promarkers

End flap with Just rite bauble stamp

How I connected the mail flag, K and Co Brad.
Can you tell I missed my Craft room!

Ok I used the following items to make this

 I have linked to the products I used to Oyster Stamps where I can. The Ink Pad and Memory Box dies are available in store as well.  The rest is from my personal stash, that I am trying to use up!

This will be doing the tour of the Sincerely yours shows across the country, I do hope you will come by and see it.

Now if you would like to make this, I will be having a Workshop very soon at Oyster Stamps in Rochester. Details coming soon!


I love reading your comments,if you have any questions please leave a comment and I will try my best to answer them.


Happy Crafting

Barbara

Saturday 21 July 2012

I would like to share with you.......................

some crafty goodness with you all.

Today, I met up with my friends today for a wonderful crafty day, we spent a lot of the time putting the world to rights, but I did manage to get a bit of crafting done!

I coloured in Silver Fairy with TH Distress Markers onto Water Colour Paper (from my stash ), I also stamped another fairy and coloured the wings, then cut these out, then I cut her out using Spellbinders Floral Ovals, as she is a bit big for the die, I decoupaged a set of wings onto my panel as I lost a bit of her wings, in the die cutting process.

I stickled ( is that a word ) her wings and dress with Star Dust Stickles, my most used colour, well diamond gets used a fair bit as well.

The background was created using the MS score board, now if you have not got one of these, WHY NOT! lol. I love mine. I distressed the edges with a craft knife, well I would of used my distressing tool, but it seems to have fallen into the deep pit called my craft room!

I added a distressed strip of patterned paper and a row of Lace and pearls, before layering the fairy panel on the top. I used my MS Vintage Lace PATP set to create my card base.
Then finished it off with a few flowers from my stash and a few punch outs using the Martha Stewart branch punch.


I just love the way her wings pop off the page!


Closer look at her wings
Products used, available from Oyster Stamps
  • Martha Stewart PATP Vintage Lace
  • Whimsy Stamp Silver Fairy
  • Tim Holtz Distress Markers
  • Martha Stewart Score Board
  • Spellbinder Floral Ovals
  • Martha Stewart Branch Punch
  • Stickles
Happy Crafting

Barbara

Friday 20 July 2012

The winner is..........................

Hey there,


The winner of my giveaway is..................................


Buttons

Well done, please contact me and I'll get your paper to you.

Happy Crafting

Barbara

Monday 16 July 2012

Neat Storage idea!

I have decided rather foolishly to start sorting out the Craft Hut, It is getting in a right old mess and I am unable to find things when I need them as a lot of my stash is here there and everywhere!

Soooooo with the help of a good friend I have started the sort out, she benefits as what I decide to get rid of K gets first dibs. Then what is left I give to another friend who runs a Girl Guide group.

I went along to Pickleberry Paper crafts on Saturday, which sadly has now closed her Bricks and Mortar store as she and her family are moving back up to the Midlands, tho she will still have a online store.

Julie who had a studio there, was packing up her room ready to move , had a bookcase there that she was going to leave, I asked her if I could have it and she said yes, that baby went straight into my car, it replaces one I have in my Hut that is falling apart and it is slightly bigger as well.

So K and I fixed the back of the case today, emptied the old bookcase. I had a really good sort out of all the bits and pieces that were on there, and then started the process of refilling it! I am really happy with that corner of the Hut, just a few more to go LOL.

Any way back to the title of the post, I have a house shaped sectioned box that had been floating around for a while, as K and I were tidying up the drawers in  my Plan chest, she spotted my collection of tissue tape, looked at the house and said why don't you store the rolls of tape in there and hang it up on the wall. So I did and here is what it looks like.


 I'll get round to painting it one day.

Now they are at my finger tips!


Don't forget there is still plenty of time to comment and follow for my Giveaway, I love reading your comments, so come on don't be shy.

Happy Crafting

Barbara